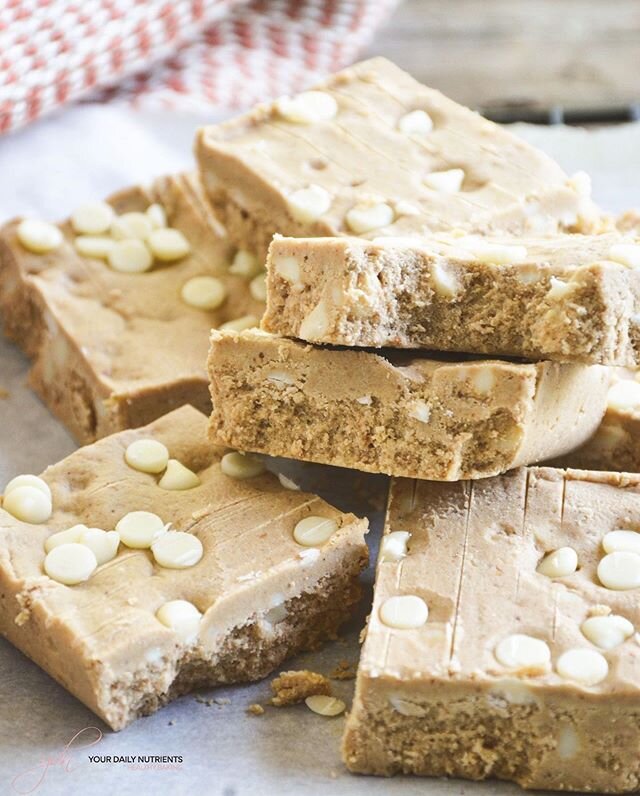
TOASTED COCONUT BUTTER
Have you ever tried to toast coconut flakes and blend them? That’s how simple it is to make your own toasted COCONUT BUTTER. The toast option is of course optional, but believe me the flavour is much richer when it’s toasted!!

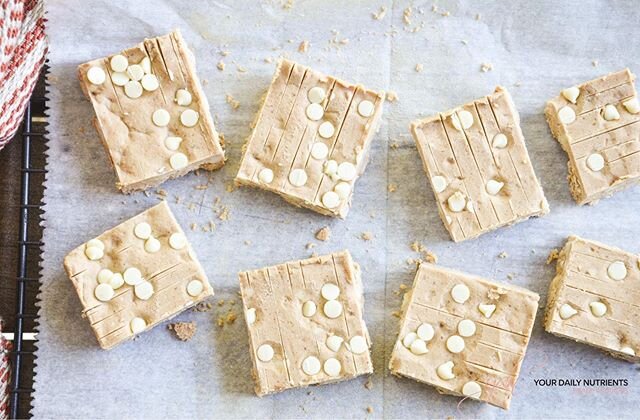
What I like about coconut butter is that it’s the perfect substitute for CARAMEL/TOFFEE! Indeed, you can use coconut butter for any filling on cakes, cookies, snacks… or even spread it on your toast or even better…just eat it from the jar with a spoon!
I like to have my coconut butter mixed with a touch of pink Himalayan salt and coconut sugar, it’s the perfect combination!
DIABETIC DIET TIP
As I said, this is the perfect substitute for caramel/toffee! Coconut butter will certainly not spike your blood sugar, even though you add a little bit of coconut sugar. You can always add some cinnamon which will also help to maintain your blood sugar levels.
In this case, if you sweeten your coconut butter, it’s not recommended to eat it alone but mixed in other foods, such as yogurt, protein bars, mainly I would use it as an ingredient for your bake goodies!

INGREDIENTS
▪️8oz/220gr unsweetened coconut flakes
▪️1 tablespoons or 15ml coconut oil
▪️1/2 cup or 120gr coconut sugar (optional)
▪️1 teaspoon or 5gr pink Himalayan salt (optional)
STEPS
▫️Pre heat the oven at 350F/175C.
▫️Spread the coconut flakes evenly over an oven tray with parchment paper and bake 8-10 minutes or until the flakes become golden brown. You may have to do this step twice, if your tray is not big enough for all the coconut flakes. Keep a close eye on it as it can go from untoasted to burned in seconds!!
▫️Remove the sheets from the oven and let cool for about 5 minutes.
▫️Transfer the toasted coconut flakes to a good food processor and add the coconut oil. The coconut should fill the bowl at least halfway. If it's less than halfway full, it'll be more difficult to process and it'll take longer…
▫️Optional: add the pink Himalayan salt and coconut sugar and process until very runny - even runnier than homemade natural almond butter or peanut butter. Within 2-3 minutes, it should almost be as thin as water. Depending on your food processor, it may take longer.
▫️Pour into a glass jar and stir every 30 minutes or so. If you don't stir, the coconut butter may separate a little.
▫️It'll gradually harden and after about 12 hours (more or less, depending on the size of your container and your kitchen's temperature), it'll completely firm up.
* Store at room temperature for up to 6 months.
! ! ! E N J O Y ! ! !
🇪🇸 Spanish:
INGREDIENTES
▪️220gr de copos de coco sin azúcares añadidos
▪️1 cucharada o 15ml de aceite de coco
▪️1/2 taza o 120gr de azúcar de coco (opcional)
▪️1 cucharadita o 5gr de sal rosa del Himalayan (opcional)
PASOS
▫️Pre calentar el horno a 175C.
▫️Esparcir los copos de coco uniformemente sobre una bandeja con papel de horno y hornear durante 8-10 minutos o hasta que los copos se doren. Si vuestra bandeja de horno no es lo suficiente grande, tendréis que hacer dos tandas. Vigilar constantemente el horno ya que se pueden quemar enseguida!
▫️Retirar la bandeja del horno y dejar enfriar unos 5 minutos.
▫️Verter los copos tostados en un procesador de alimentos potente y añadir el aceite de coco. La cantidad de copos debería ocupar almenos la mitad del recipiente del procesador, sino llevará más tiempo para que se triture todo bien…
▫️Opcional: añadir la sal rosa del Himalaya y el azúcar de coco y triturar todo hasta que quede casi líquido, no debería quedar espeso como una mantequilla de almendras o cacahuete. Después de unos 2-3 minutos debería estar listo, pero depende de la potencia de vuestro procesador.
▫️Verter en un recipiente de cristal y mezclar cada media hora con una cucharita, ya que puede que se separen un poco las capas de los diferentes ingredientes, sobretodo el aceite de coco.
▫️La mantequilla de coco se va a ir endureciendo y sobre las 12 horas ya debería estar dura por completo.
* Conservar a temperatura ambiente hasta 6 meses.
! ! ! D I S F R U T A D L O ! ! !
Check us out on Facebook & Instagram for our latest healthy content!

Hello Food Lovers!
We created YOUR DAILY NUTRIENTS in order to share and educate with healthy recipes and Diabetic tips.
To motivate you to achieve a healthy lifestyle and control your diabetes at your best!
Follow us on Instagram to get the latest content on healthy baking and recipes!