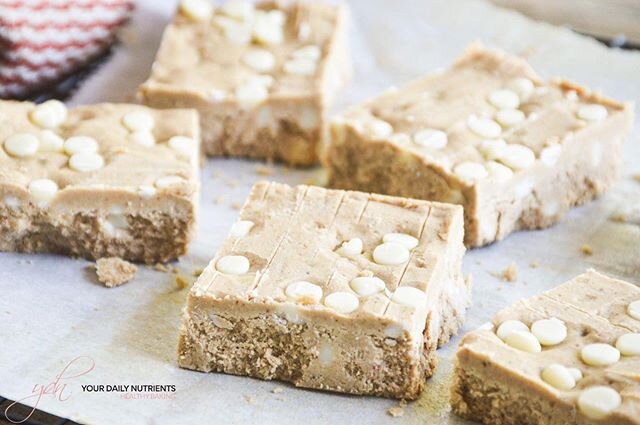
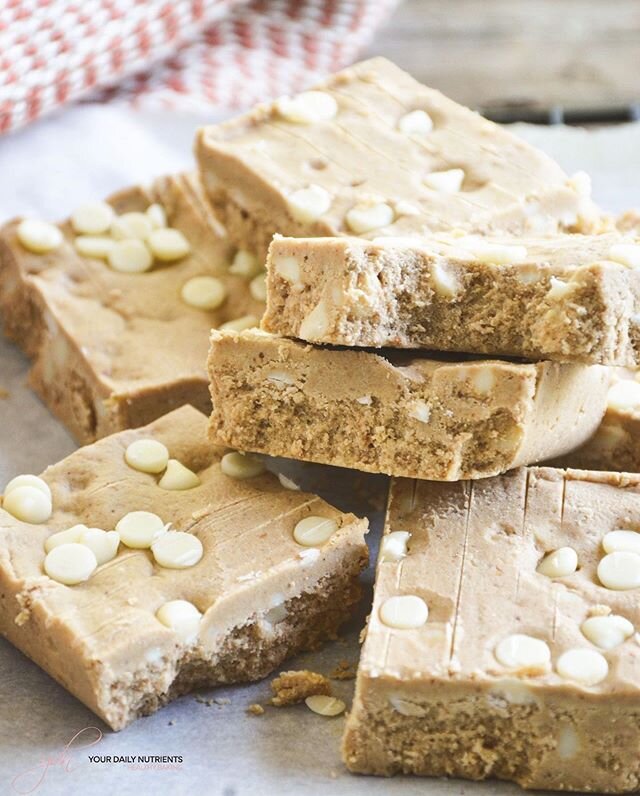
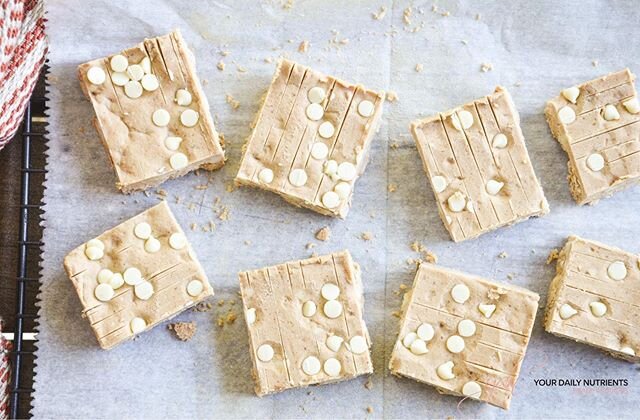
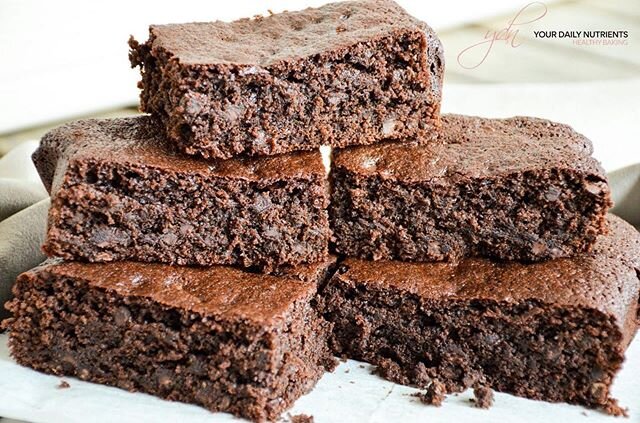
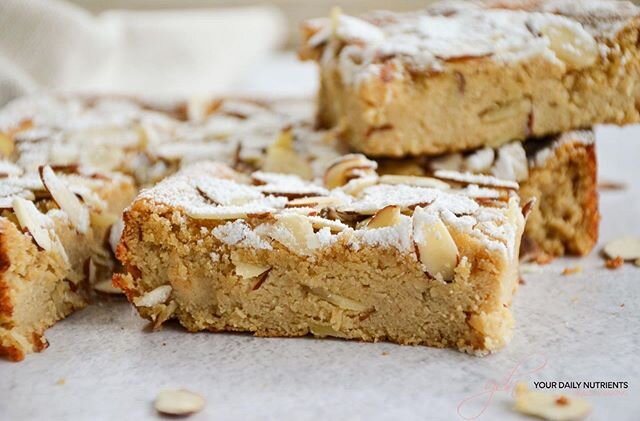
PEANUT BUTTER & CHOCOLATE FUDGE
- VERSION EN ESPAÑOL AL FINAL DE LA PÁGINA -
Delicious and healthy Peanut Butter And Chocolate Fudge! A no-bake dessert very easy to make and so delicious that it will be on your TOP recipe list!!
This easy recipe is gluten free, refined sugar free, dairy free and vegan!


DIABETIC DIET TIP
These healthy vegan bars are so easy to make, so delicious and so good!!
How much sugar content they have is up to you… if you use coconut sugar for the base and yacon syrup for the filling, it’s the perfect combo! You can also use yacon syrup on both or erythritol if you prefer to have less sugar content.
Anyhow, the combination of those natural sugars with the healthy fats from the cashews and the coconut and the peanut butter will not cause a sugar spike in your bloodstream :)
Let me know how it turns out for you, I love to see yours!

INGREDIENTS
PB crust:
1 cup or 95 gr of cashew flour (can substitute for almond flour or other nut flour)
1/2 cup coconut sugar or erythritol
1/3 cup or 75gr peanut butter
PB & Chocolate filling:
200gr raw cashews - soak them overnight or at least 4 hours
3/4 cup coconut cream or canned coconut milk (the thick part)
1/2 cup or 40ml yacon syrup or sweetener of choice (syrup works better)
1/4 cup or 50gr peanut butter
2 tablespoons lemon juice
1 tablespoon vanilla extract
pinch of salt
2 scoops or 60gr vanilla protein powder
3 tablespoons cacao powder
1 scoop or 30gr chocolate protein powder
STEPS
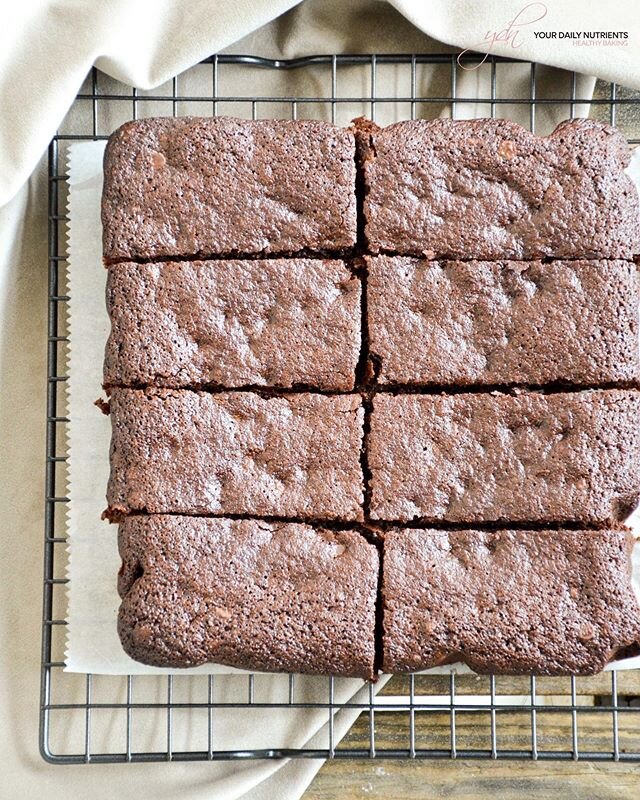
Cover an 8-inch/20cm square mold with parchment paper and set aside.
In a food processor or blender, blend the cashews (previously soaked overnight or at least 4 hours) with the coconut milk/cream, yacon syrup, lemon juice, vanilla extract and salt.
Add the peanut butter and blend until fully combined.
Add the vanilla protein powder and blend until fully combined.
Pour 3/4 of the filling into the square mold.
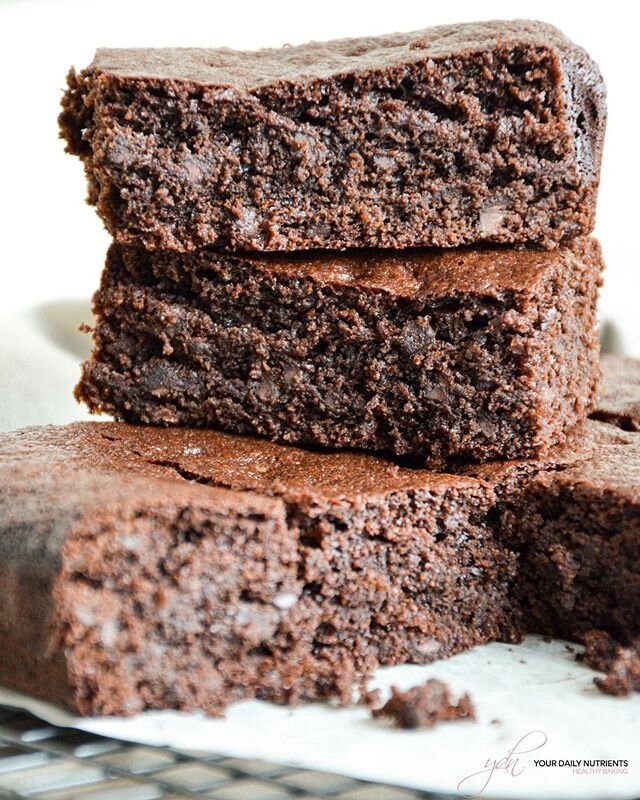
With the other 1/4 mix the cacao powder and chocolate powder until fully combined.
Pour on top of the vanilla filling and make swirls with a toothpick.
Leave in the fridge for 2 hours and transfer to the freezer.
* Store in the freezer.
Did you make this recipe?
Please let me know how it turned out for you! Leave a comment below and share a picture on Instagram with the hashtag #yourdailynutrients and send me a DM so I can see you and share!
Thanks so much!
🇪🇸 Spanish:
Deliciosa receta para aquellos amantes del peanut butter!!
¡¡No llevan gluten ni azúcares refinados ni lácteos y además son veganas!!
¡¡Son muy fáciles de hacer, os aseguro que os van a encantar!!
INGREDIENTES
Base de galleta de cacahuete:
1 taza o 95 gr de harina de anacardos (puedes substituir por harina de almendra o de otro fruto seco)
1/2 taza azúcar de coco o eritritol
1/3 taza o 75gr mantequilla de cacahuete/peanut butter
Relleno:
200gr anacardos crudos - remojados por la noche o al menos durante 4 horas
3/4 taza o 100gr nata de coco o leche de coco en lata (usando solo la parte sólida)
1/2 taza o 40ml sirope de yacón o endulzante a escoger (sirope queda mejor)
1/4 taza o 50gr peanut butter
2 cucharadas de zumo de limón exprimido
1 cucharada de extracto de vainilla
pizca de sal
2 scoops o 60gr proteína de vainilla en polvo
3 cucharadas de cacao en polvo
1 scoop o 30gr de proteína de chocolate en polvo
PASOS
Cubrir un molde cuadrado de 20cm con papel de horno. Reservar.
En una procesadora de alimentos o trituradora, triturar los anacardos (que hayan sido remojados al menos durante 4 horas) con la leche de coco, el sirope de yacón, el zumo de limón, el extracto de vainilla y la sal.
Añadir la mantequilla de cacahuete y triturar.
Añadir la proteína de vainilla y triturar.
Verter 3/4 del relleno en el molde.
Con el otro 1/4 del relleno, mezclar el cacao en polvo y la proteína de chocolate.
Verter por encima del relleno de vainilla y hacer formas de “S” con un palillo.
Dejar en la nevera 2 horas y luego dejar en el congelador.
* Conservar en el congelador
¿Habéis hecho esta receta?
¡Me encantaría saber que tal os ha quedado! Dejar un comentario en la sección de abajo y compartir una foto en Instagram con el hashtag #yourdailynutrients y enviarme un mensaje así puedo veros y compartir!
¡Mil gracias!

Check us out on Facebook & Instagram for our latest healthy content!

Hello Food Lovers!
We created YOUR DAILY NUTRIENTS in order to share and educate with healthy recipes and Diabetic tips.
To motivate you to achieve a healthy lifestyle and control your diabetes at your best!
BROWSE RECIPES by category
Follow us on Instagram to get the latest content on healthy baking and recipes!